
Confirm the cap shape and fit, logo width and placement, embroidery quality on the front and other panels, fabric and thread colours, special finishes, labels and closure. Ask for clear photos or video of the finished sample, resolve any changes in writing, and approve the final version before the bulk order starts.
A digital mock-up is a useful starting point, but the physical cap reveals details that can be hard to judge on a screen: how large the logo looks against the crown, whether the embroidery sits straight, how thread colours appear under real light, and whether a special finish suits the chosen construction.
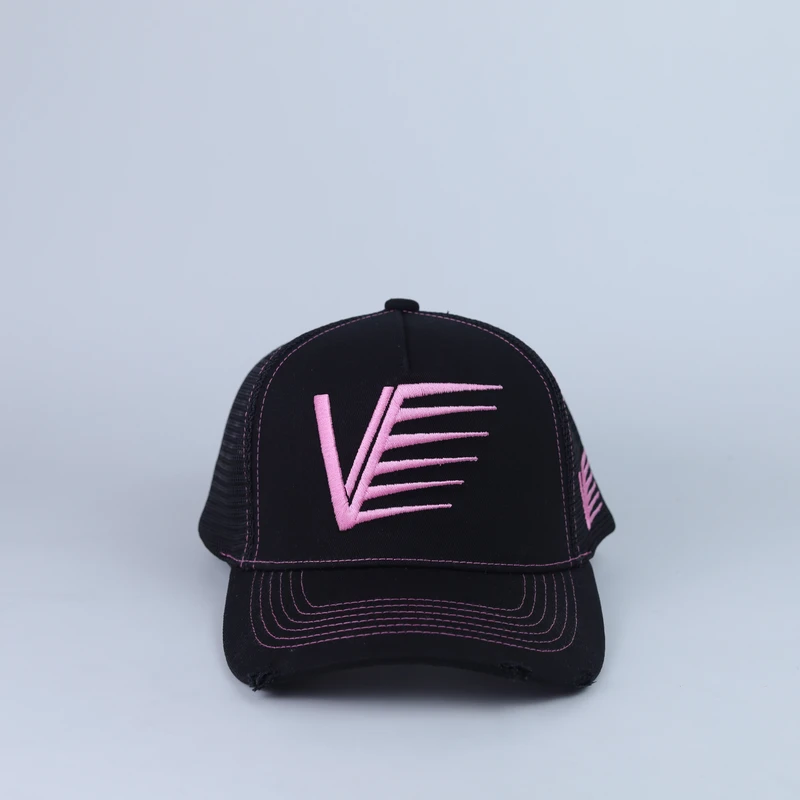
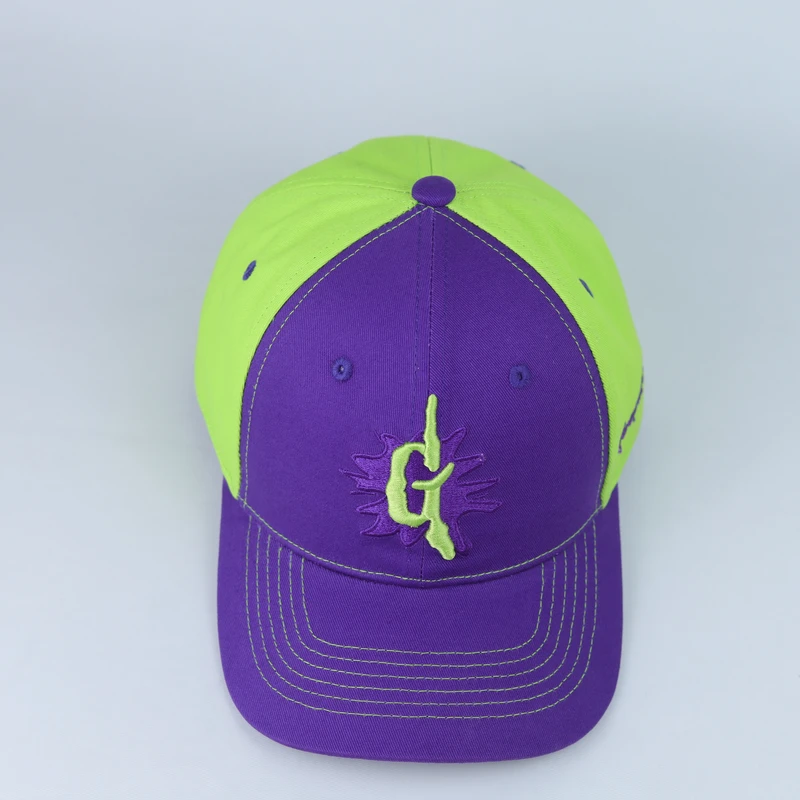
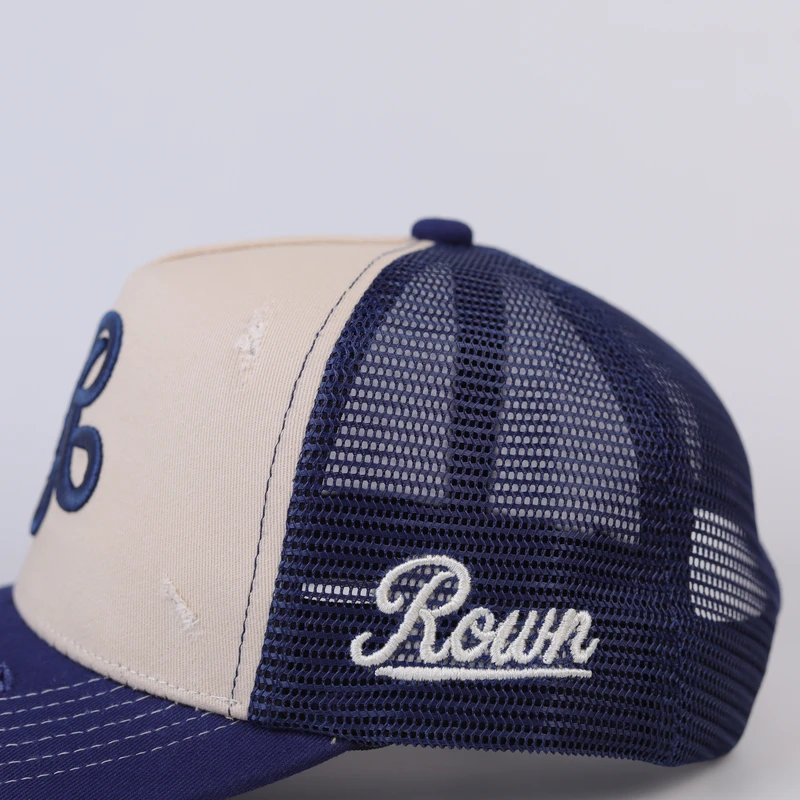
These are existing CAPSMILL product-library references, not photographs of the individual customer orders discussed below. The practical lessons come from separate anonymised development records and are not one combined order.
1. Turn the reference image into a written specification
Before sampling, list the features that cannot be left to interpretation. A useful brief can start with photographs and a few measurements; a full technical pack is helpful, but it is not the only way to begin.
- Cap shape: panel count, crown profile, structured or soft front, brim curve and closure type.
- Fabric and mesh: colour reference for the front, sides, back and brim; note whether different panels use different materials.
- Logo artwork: separate files for front, side and rear artwork where the designs differ.
- Logo dimensions: width and height, plus intended position relative to the centre line, panel seams and brim.
- Embroidery: thread colour references, stitch appearance, backing preference and any edge-finish requirement.
- Finishing: visor stitch rows, eyelets, labels, inner tape, hang tags and packaging.
- Order plan: quantity for each design and colourway, not just one total across several versions.
Keep the written specification beside the latest mock-up. If the artwork or colour changes, update the version so the factory is not working from an earlier image in the chat.
2. Check logo size and placement on the assembled cap
A logo dimension can be followed exactly and still look wrong when it is placed on the finished crown. In one anonymised sample review, the front logo looked too large when produced to the originally supplied width. The buyer and factory agreed to make it smaller and position it more centrally before the cap was finished.
The lesson is not to guess a universal logo size. Judge the artwork against the actual panel and the look you want. When reviewing the sample, check:
- Does the logo look balanced on the crown from straight ahead?
- Is it centred against the cap's actual panel and seam lines?
- Does the artwork sit straight, or does it appear tilted or distorted in the photograph?
- Are the edges clean and the small details still legible?
- Do front, side and back logos match their separately approved sizes and positions?
Ask for a straight-on photograph and a close-up if the camera angle makes alignment hard to judge. If a correction is needed, write down the new width, height or placement and ask for a revised photo before the next production step. Do not rely on “make it smaller” alone if a measurement or marked-up image can remove doubt.
3. Review front, side and back embroidery separately
The front logo can look sharp while small embroidery on the side or rear needs more work. Review each decorated location on its own, especially when the mesh colour, thread colour or available stitching area is different.
Backing can help stabilise some embroidery and produce a cleaner edge, but it is not a one-size-fits-all requirement. In a separate project, the buyer chose backing for side and rear embroidery after comparing samples with and without it. The agreed brief also specified that the backing should follow the mesh colour and be trimmed close to the logo.
Before approval, check the actual effect rather than relying on the name of a technique:
- Is the lettering readable at normal viewing distance?
- Does the thread colour match the approved reference?
- Does the embroidery sit neatly on the selected panel or mesh?
- If backing is required, is its colour and coverage agreed, with excess material trimmed as specified?
- Does the front artwork need a different finish from the side and rear details?
If the factory sends an embroidery test before the whole cap is assembled, treat it as approval of that embroidery effect only. It does not automatically confirm the cap's shape, fit, labels or overall finish.
4. Confirm fabric and thread colours with references, not memory
Words such as “dark blue”, “cream” or “chocolate brown” help describe a direction, but they may not be precise enough for production. In a separate multi-colour development, the buyer requested a darker mesh after reviewing the first photos and then clarified which stitching should match the cap panels. Those small decisions mattered to the final appearance.
For each colourway, record the colour reference for every component that needs to match:
| Component | What to confirm |
|---|---|
| Front and side panels | Fabric swatch or colour code; state if the panels are different colours. |
| Mesh | Exact swatch or colour reference, checked against the cap panels in the same light. |
| Embroidery thread | Separate front, side and rear thread colours where they differ. |
| Brim and brim stitching | Brim colour plus stitch colour; do not assume the thread follows the fabric automatically. |
| Closure and inner details | Snapback colour, inner tape, sweatband label and any custom trim. |
Photos and video are useful for checking placement, but lighting, exposure and filters can change how colours appear on screen. For a colour-critical order, compare physical swatches and record the chosen code in writing. If a swatch is changed after the first sample, make sure the revised choice is reflected in the final approval.
5. Check the cap shape and fit on the intended wearer
A sample can have the right artwork and still miss the intended fit. One anonymised follow-up found the first cap too tight for the person wearing it, so a larger circumference was discussed for the next development. A size label alone does not describe how every cap will fit.
Confirm the details that affect the look and fit:
- Panel count and crown profile, including the height and shape above the logo.
- Whether the front should be structured and whether buckram is required.
- Brim curve, visor stitch rows and eyelet placement.
- Closure type and the adjustment range.
- Finished head circumference or the required size range, plus a fit check on the intended wearer.
If fit is important to your audience, measure the sample and record the requested finished size before approving bulk. A reference photo can communicate the silhouette, but it cannot confirm the finished circumference.
6. Confirm whether a special finish suits the construction
“Distressed” can mean worn edges, fraying, fading or actual openings in the fabric. Mark the exact areas on the reference image and agree how the finish should look. Do not assume every method works on every cap construction.
One anonymised sample review exposed a practical limitation: the selected brim used a single fabric layer, and applying the requested distressing directly could reveal the visor board underneath. After the issue was explained, the buyer chose to keep the brim as it was rather than proceed with that finish.
That is why special finishes should be checked before production, not added as a last-minute instruction. Ask the factory to review the proposed effect against the selected construction, then record one of three outcomes: approved as specified, revised to an agreed alternative, or removed from the order. The same principle applies to unusual stitching, cut-outs and trims.
For visual references, compare the black-and-pink distressed mesh cap and the cream-and-navy distressed trucker. These show different design details; they do not prove that the same finish is suitable for every brim.
7. Approve every colourway before bulk production
If the order includes several colourways, approving one cap does not automatically approve the others. The colour of the mesh, front logo, brim stitching or snapback can change between versions. Review a complete specification for each combination and ask for clear photos or video of every version before final approval.
Before giving the go-ahead, check the finished sample or pre-production review against this list:
- Correct colourway and quantity for each version.
- Approved logo size, position and embroidery effect on every panel.
- Correct fabric, mesh, thread and closure colours.
- Agreed brim shape, stitch rows, eyelets and any special finish.
- Inside tape, labels, hang tags and packaging included in the quotation.
- Written confirmation of the final revision being approved for production.
Keep the approved photographs, colour references and change notes together. They make it easier to compare the delivered order against the version that was agreed.
8. Confirm quotation, shipping and defect handling in writing
Once the design is approved, make sure the quotation describes the same product. Ask for the unit price, quantity by colourway, any extra cost for labels or hang tags, packaging scope, shipping cost and delivery method. If the shipment is described as DDP or DAP, ask what that means for duties, taxes and charges at the destination. Transit estimates vary by route and shipping service, so use the written quote for the specific order rather than a general website estimate.
Cross-border bank transfers can also involve intermediary fees. Confirm the amount the supplier must receive and who is responsible for transfer charges before sending payment. For a bulk order, agree in writing how a confirmed production defect will be assessed and what remedy applies. Do not assume that a general statement about quality automatically defines a remake or replacement policy.
Finally, request pre-shipment photos or video of all colourways and agree when the order will be dispatched. Keep the approved sample as the reference point for the bulk order.
A practical custom cap sample approval checklist
| Review stage | Approval record to keep |
|---|---|
| Design brief | Reference image, cap shape, panel map, logo files and measurements. |
| Embroidery | Approved artwork placement, thread codes, backing choice and close-up photos. |
| Colours | Fabric/mesh swatches, thread references and a separate colourway list. |
| Fit and finish | Finished circumference, brim curve, closure, labels and agreed special finishes. |
| Bulk release | Final approved version, quantities, quotation scope, shipping terms and defect-handling agreement. |
CAPSMILL publishes a starting MOQ of 50 pieces, but the applicable minimum for each style, colourway and decoration should be confirmed in the quotation. Sample development, bulk production and shipping are separate stages; dates depend on the confirmed design, materials and order.
Related first-order knowledge
Frequently asked questions
What should I check before approving a custom cap sample?
Check the cap shape and fit, logo dimensions and position, embroidery quality on every decorated panel, fabric and thread colours, special finishes, labels and closure. Approve the final version in writing before bulk production.
Can I approve a custom cap sample from photos alone?
Photos and video help review placement and visible details, but lighting and filters can affect colour. Use physical swatches for important colour decisions and check fit, texture and finish on the actual sample where possible.
Does every embroidered cap need backing?
No. Backing can help stabilise some embroidery and make edges look neater, but the right construction depends on the artwork, panel and desired feel. Confirm the backing, colour and trimming in the sample.
Can every cap brim be distressed?
No single method suits every brim construction. In one anonymised sample review, distressing a single-layer brim risked exposing the visor board, so the buyer chose to keep the brim as it was. Confirm feasibility before production.
What must be confirmed before bulk production?
Confirm the approved sample or revision, quantities by colourway, fabric and thread references, logo placements, labels and hang tags, packaging, quotation scope, shipping terms, delivery estimate and the agreed process for handling confirmed defects.
Have a cap sample ready for review?
Send the reference images, logo files, colourway list and estimated quantities. Tell us which details matter most—fit, embroidery, colour matching, labels or a special finish—and we can review what needs to be confirmed before the quotation and sample stage.